
Getting started & guides
Use V3 with the right information and safer service operations.
Start with a V3 account
3 steps
Register
Choose Sign up, use an email you can access and complete the verification shown on screen.
Secure your sign-in
Open Settings in the customer portal. Check your account details and set up two-factor authentication.
Choose before funding
Review plans, location and configuration. Check the total before adding the required funds to your wallet.
Choose and manage a Cloud Server
3 steps
Choose a configuration
Open Cloud Server purchase. Select a location, operating system version, resource plan and quantity.
Review the quote
Choose a term. Check CPU, RAM, storage, IPv4, any licence charge and the total before creating the service.
Track and connect
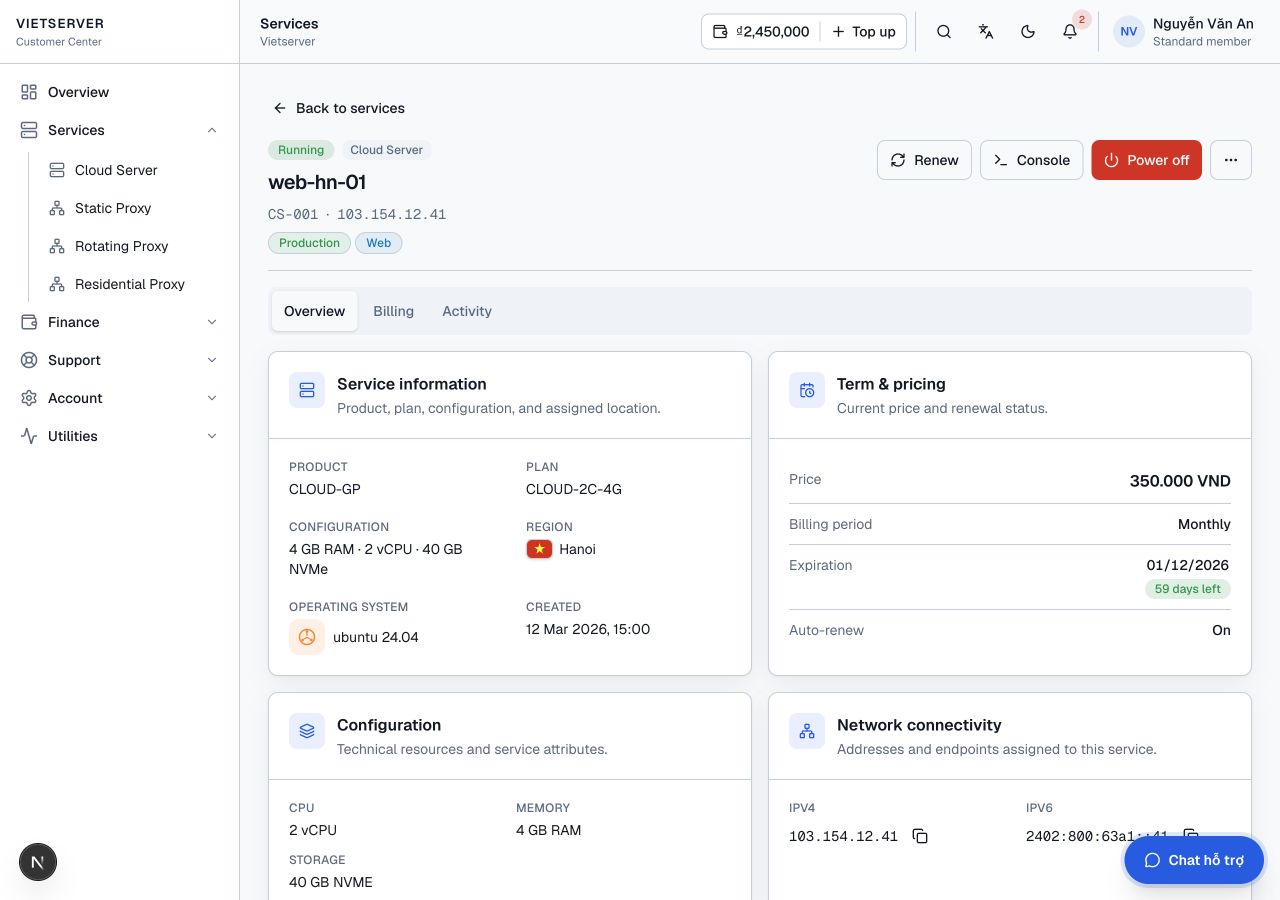
Open My services to follow provisioning. Once complete, open service details for the IP and login information.
Choose a Proxy and protocol
3 steps
Choose type and protocol
Choose Private for a dedicated IP or Shared for a shared IP. Check whether your application requires HTTP or SOCKS5.
Choose your location
Select a location, plan and quantity. For Rotating, also review country/city and the options supported by the plan.
Get connection details
After provisioning, copy login details from your service list. Enter the correct IP, port, username, password and protocol in your application.
Renew one or multiple services
3 steps
Select services
Open your service list. Select one or more services, then choose Renew in the Actions menu.
Review payment
Choose a term and check valid quotes, discounts, the total payment and the wallet balance after renewal.
Check the result
Confirm once and wait for the result. Check the new expiry dates; if any item fails, review its service ID before retrying.
Send a useful support request
3 steps
Gather the details
Note the service or order ID, incident time and steps to reproduce. Include the transaction reference for payment issues.
Send from your account
Sign in, open Support and submit a request. Attach an error screenshot with sensitive details hidden if needed.
Keep the context
Add test results to the existing request. If you cannot sign in, use the Contact channels instead.
V2 knowledge library
Legacy articles are provided for general reference. Screens, prices and policies may differ from V3; check current information before following them.
SSH: A–Z · V2